Showing posts with label textiles. Show all posts

Friday, June 11, 2010

Packing Textiles

After I removed the wedding dress (see my previous post), I offered to pack the dress to protect it from damage and harm. What follows is a step-by-step of how to pack a textile, such as a dress.

According to The Winterthur Guide to Caring for Your Collection (The Henry Francis du Pont Winterthur Museum, Inc., 2000), "Providing good storage is the best thing that anyone can do to preserve their collection." The text goes on to outline general guidelines:

* Do not store textiles in direct contact with wood. The acid from wood can cause embrittlement.
* Use chemically inert, acid-free materials (boxes, rolls, etc.).
* Never store textiles with sharp folds or creases. As fabric fibers age, they become brittle and will break where folded. Use acid-free tissue to pad the folds and creases.
* Small textiles should be stored flat. If you must stack, place the heavier textiles beneath the lighter fabrics, interlacing acid-free tissue.

Packing textiles is fairly simple and based on common sense. You just need the right materials.
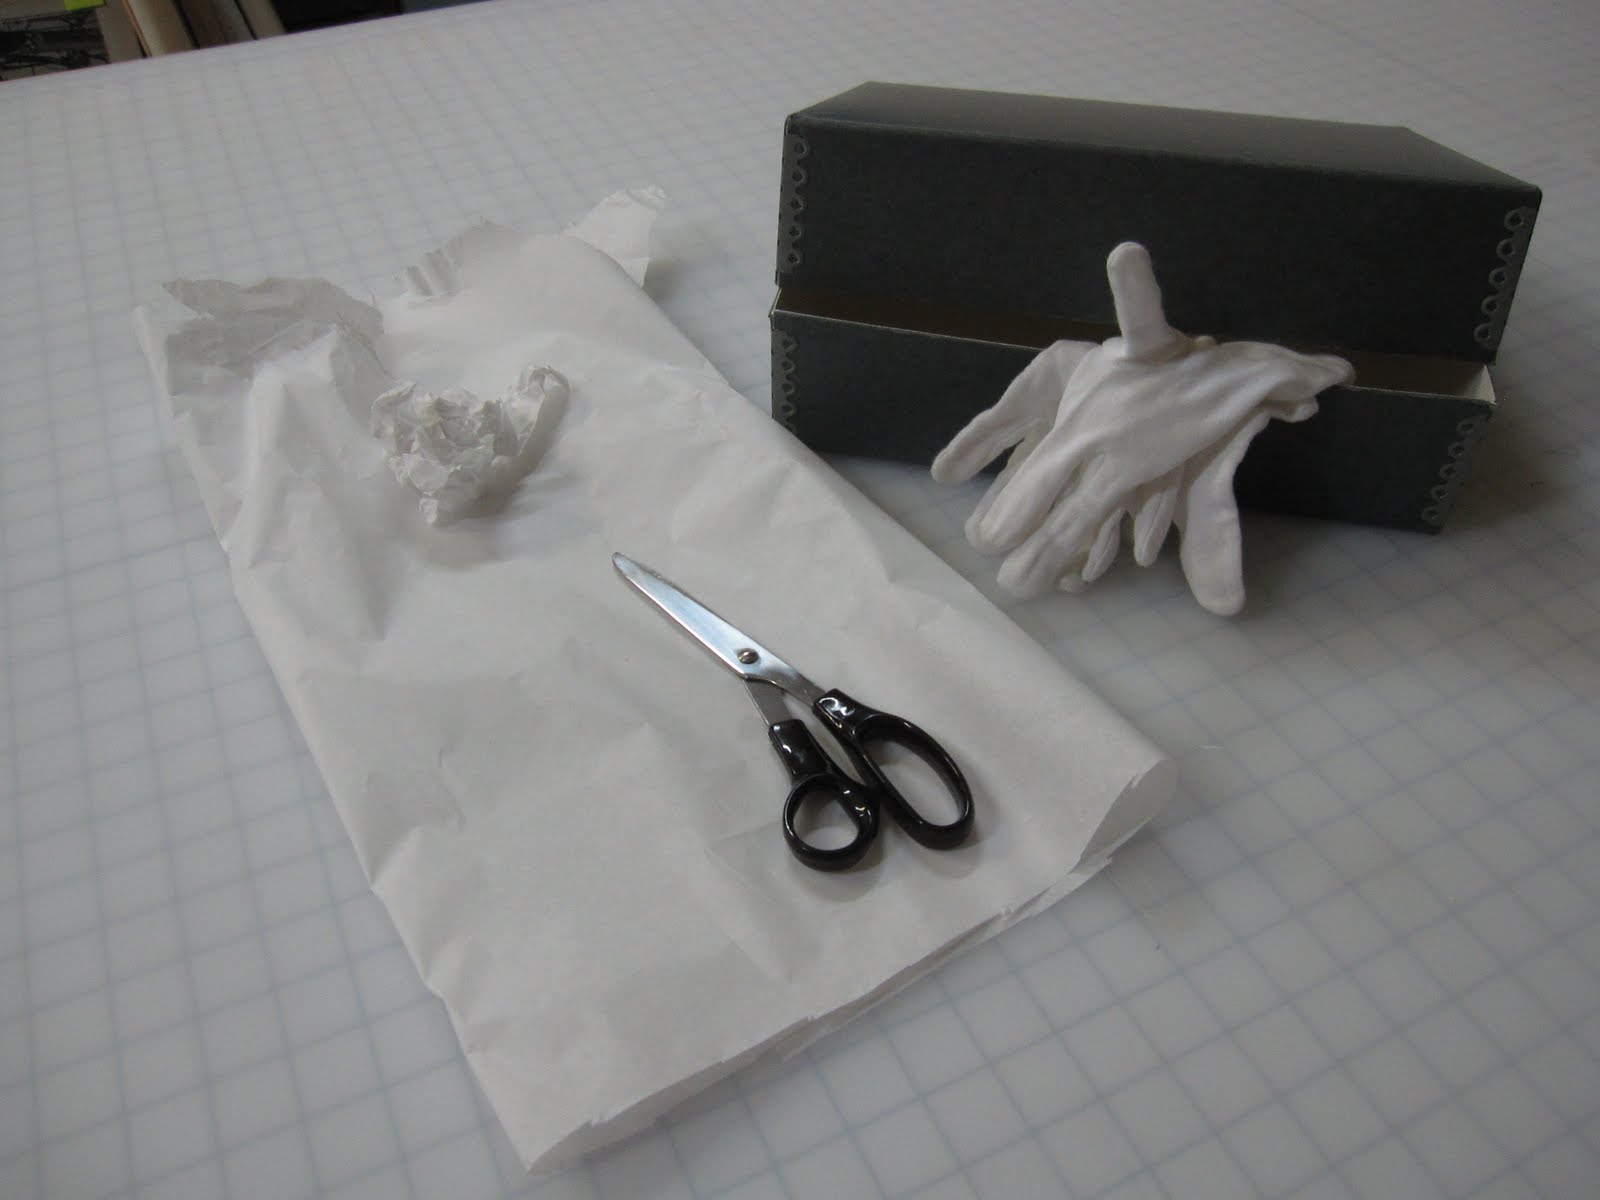

Acid-free boxes, acid-free tissue, and white cotton gloves are a must. I had the pair of scissors to cut the tissue from a large roll that I have.


The spread: acid-free box, dress, slip, shoes and other accessories
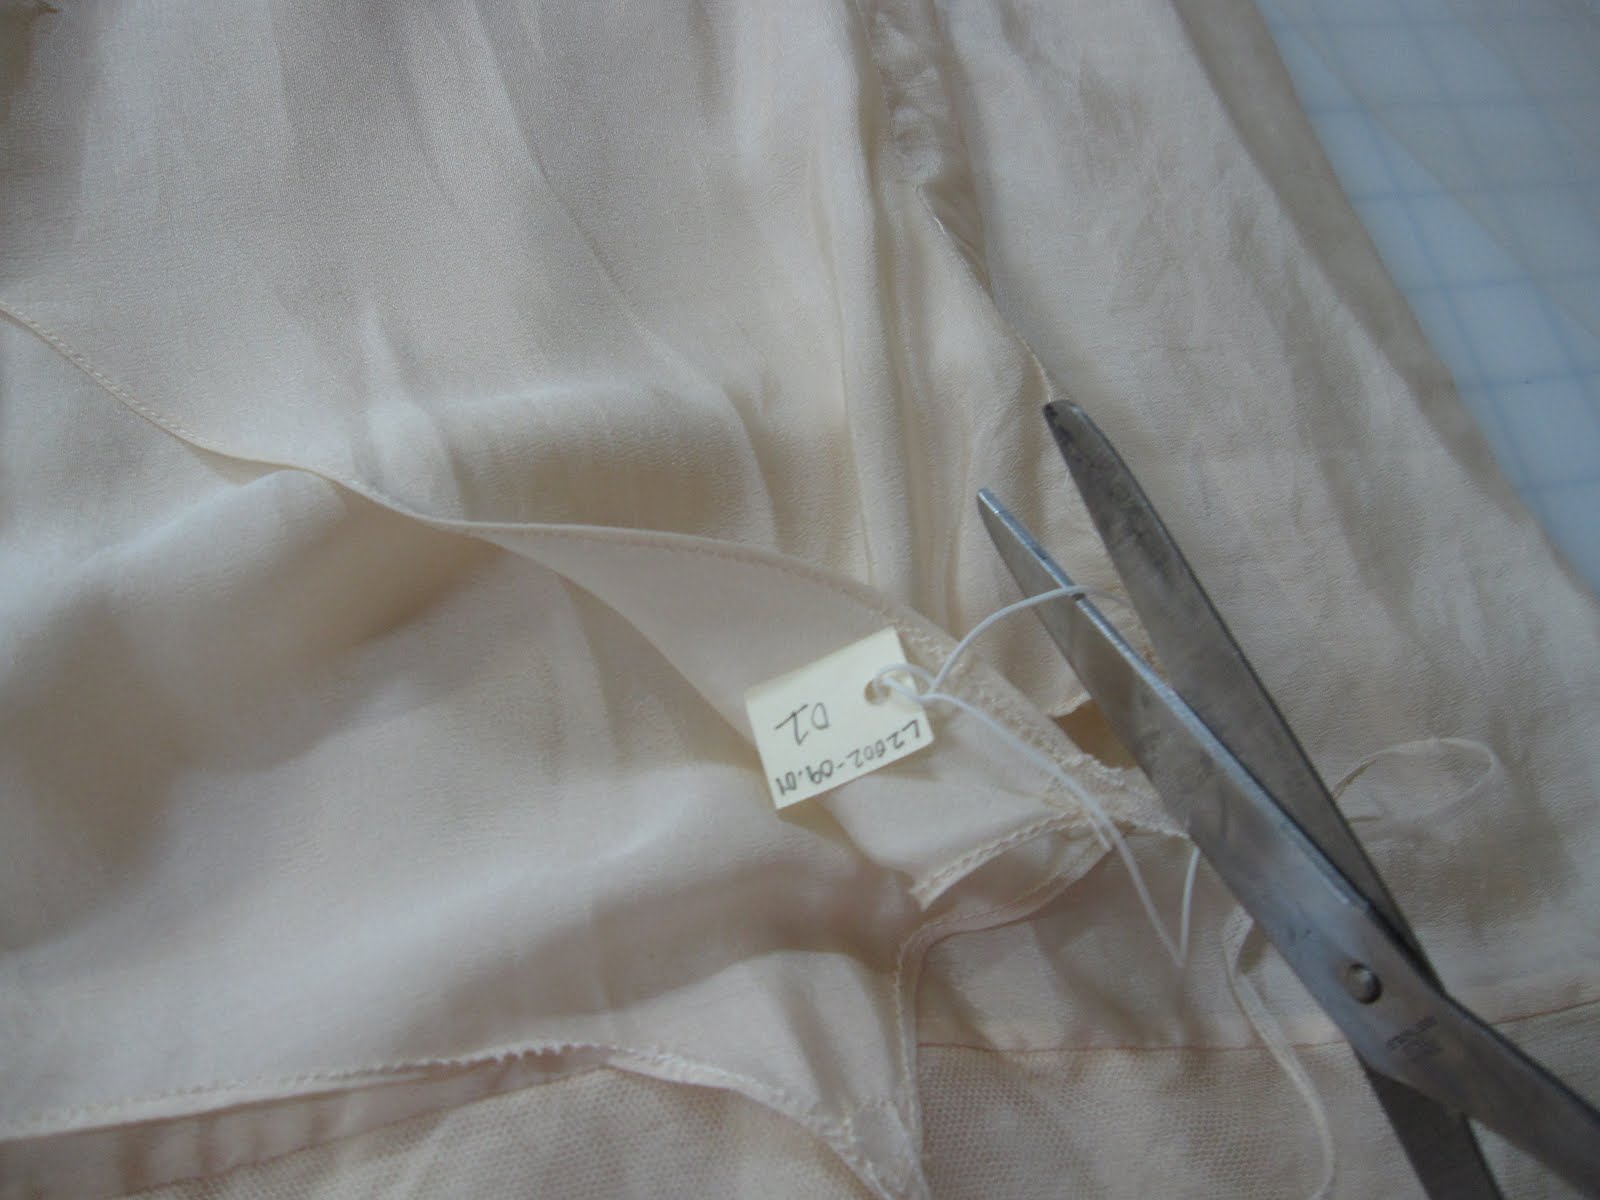

Remove the tag with the loan number.

THE SLIP
I went ahead and placed the slip on the bottom layer of the box. (1) After lining the box with tissue paper, I laid the slip's skirt in the bottom of the box. (2) After padding the fold, I laid down the top half. (3) I then placed a layer of tissue paper on top.


THE DRESS
(1) I did the same steps with the dress, padding the folds. (2) I also padded the shoulders and sleeves as well as (3) the fold of the belt.


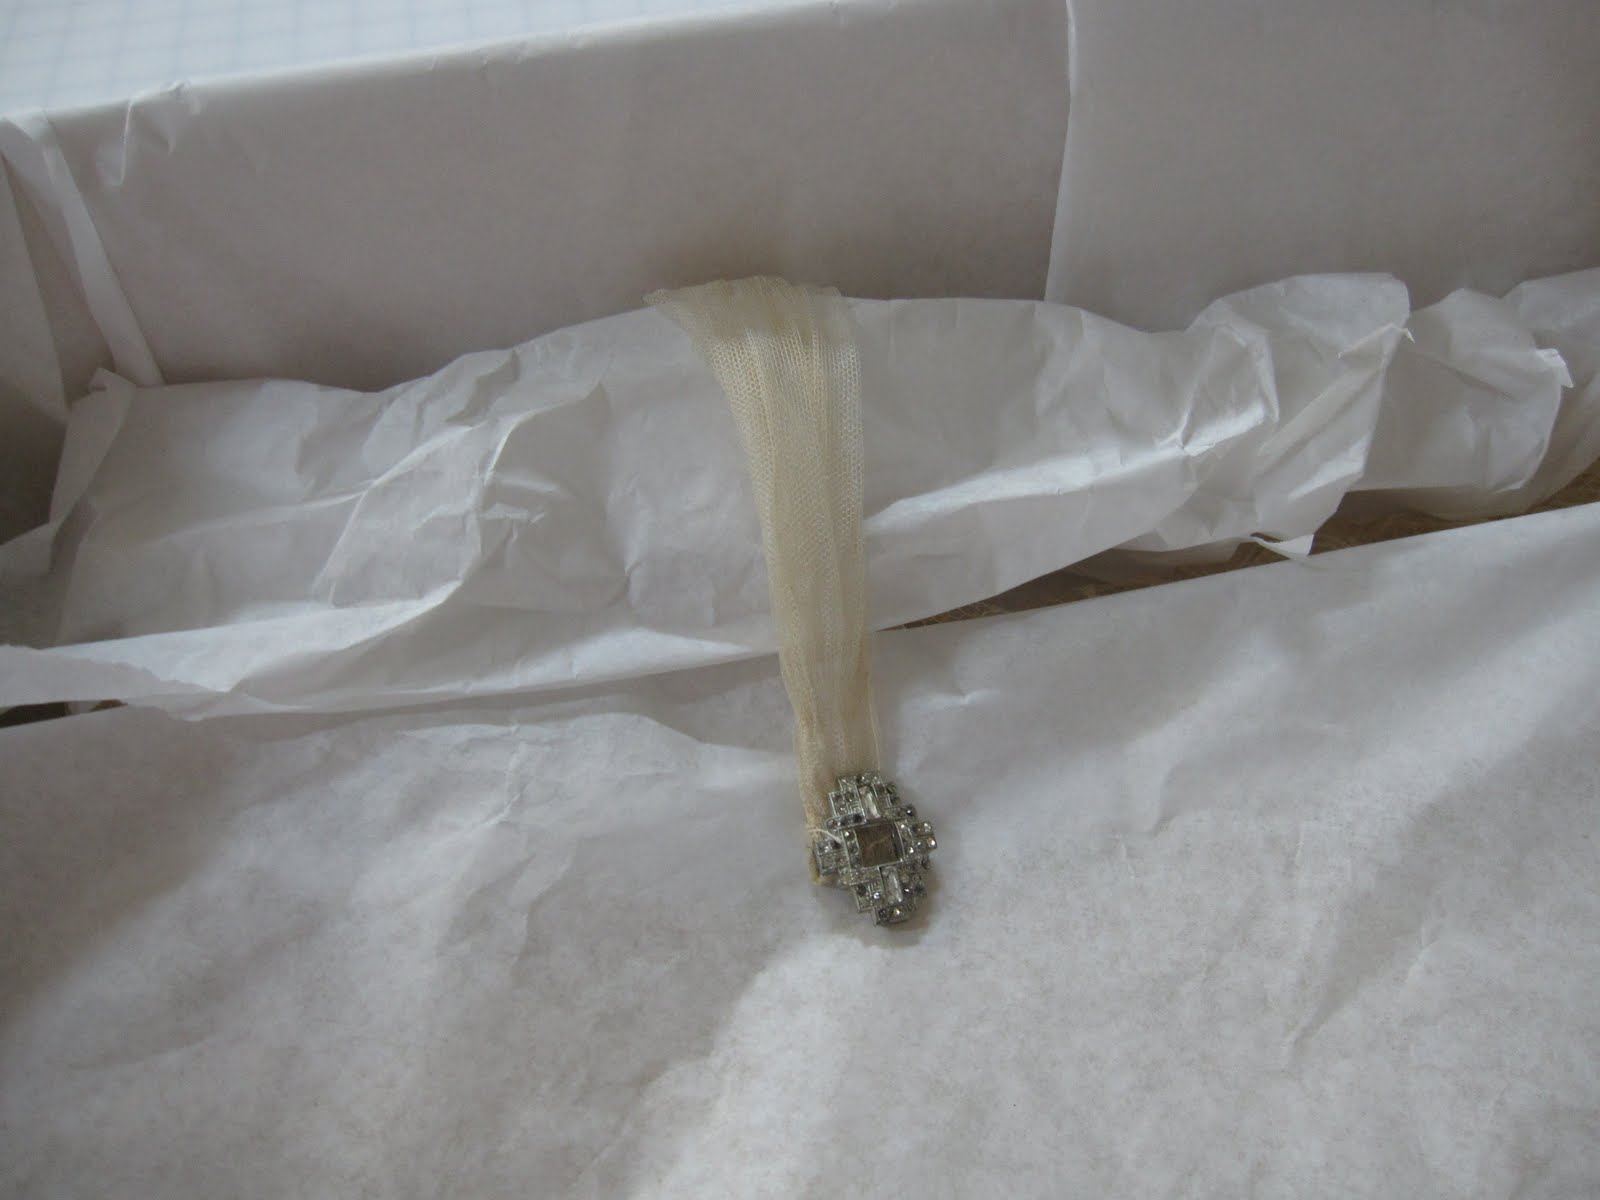


THE BOX
For the hat, I padded inside the crown (1) and around the brim (2). I then added padding in the rest of the box to protect the layers even more (3). Finally, (4) the box is ready for the lid.


THE SHOES
I packed the shoes in their own box since Kathy's daughter wanted to try them on. Generally, they would be packed at the bottom layer of the dress box. However, in this case, it works better that they are packed separately. The shoes are heavier and more substantial than the slip and dress combined.

(1) I stuffed the toes of the shoes to protect them from being smushed. (2) and (3) I then placed the shoes in the acid-free tissue lined acid-free box, using more tissue paper to pad around and between the shoes. Finally, (4) the box is ready for the lid.


This process is really easy and simple to do. As I said before, it just takes the right materials and a bit of common sense. If you have an heirloom piece of clothing or a wedding dress that you want to protect for the long-run, I highly recommend you properly store it. Storing a fragile garment in the right conditions and environment will protect it for years to come.

Thursday, June 10, 2010

The Ole Switcheroo ... Sort Of

So, you may notice that it's not Friday. In fact it's Thursday ... almost a week AFTER the Friday mentioned in my previous post. Short story is that I misspoke -- I really should confirm everything before I say (or write) things like that on this blog. I hope you will forgive me.

Swtiching out the dresses in the Memorabilia Room in the East Wing was postponed to this past Wednesday. I needed Edward to open the case (which only opens on one narrow side) and I recruited Michelle to help since Whitney was gone all week. Little did I know that the change of plans was an omen of things to come ...

On loan to the Museum since 2002, the wedding dress with shoes belongs to Kathy Shannon, Executive Director, and was worn by her grandmother. Kathy's oldest daughter, recently engaged, wants to wear her great-grandmother's shoes. Kathy asked if I could switch out the dresses in the case and return the wedding dress and shoes. Looking into my records, I discovered that those dresses had been on display since 2002 when Kathy loaned the wedding dress and the black dress was donated to the Museum. Eight years is a little long for clothing to be on display. It was certainly time to switch out dresses!


After removing the glass panel of the case and some of the objects, Edward and Michelle work on removing the mannequin with the wedding dress.


I undress the mannequin. I remove the hat and veil and then I remove the shoes (size 5 1/4!). Michelle and I managed to remove the mannequin arms so that the dress slipped over the head.

I had selected two dresses from the Permanent Collection to replace the wedding dress and black flapper dress.


I unpack the navy organza and satin dress with rust trim.


I attempt to dress the mannequin.

Despite valiant efforts by Michelle and I, we were unable to dress the mannequin. The mannequin was too big for the dress. Plus, the fabric was so fragile that there were rips and tears throughout. The navy dress was not in good condition for display.


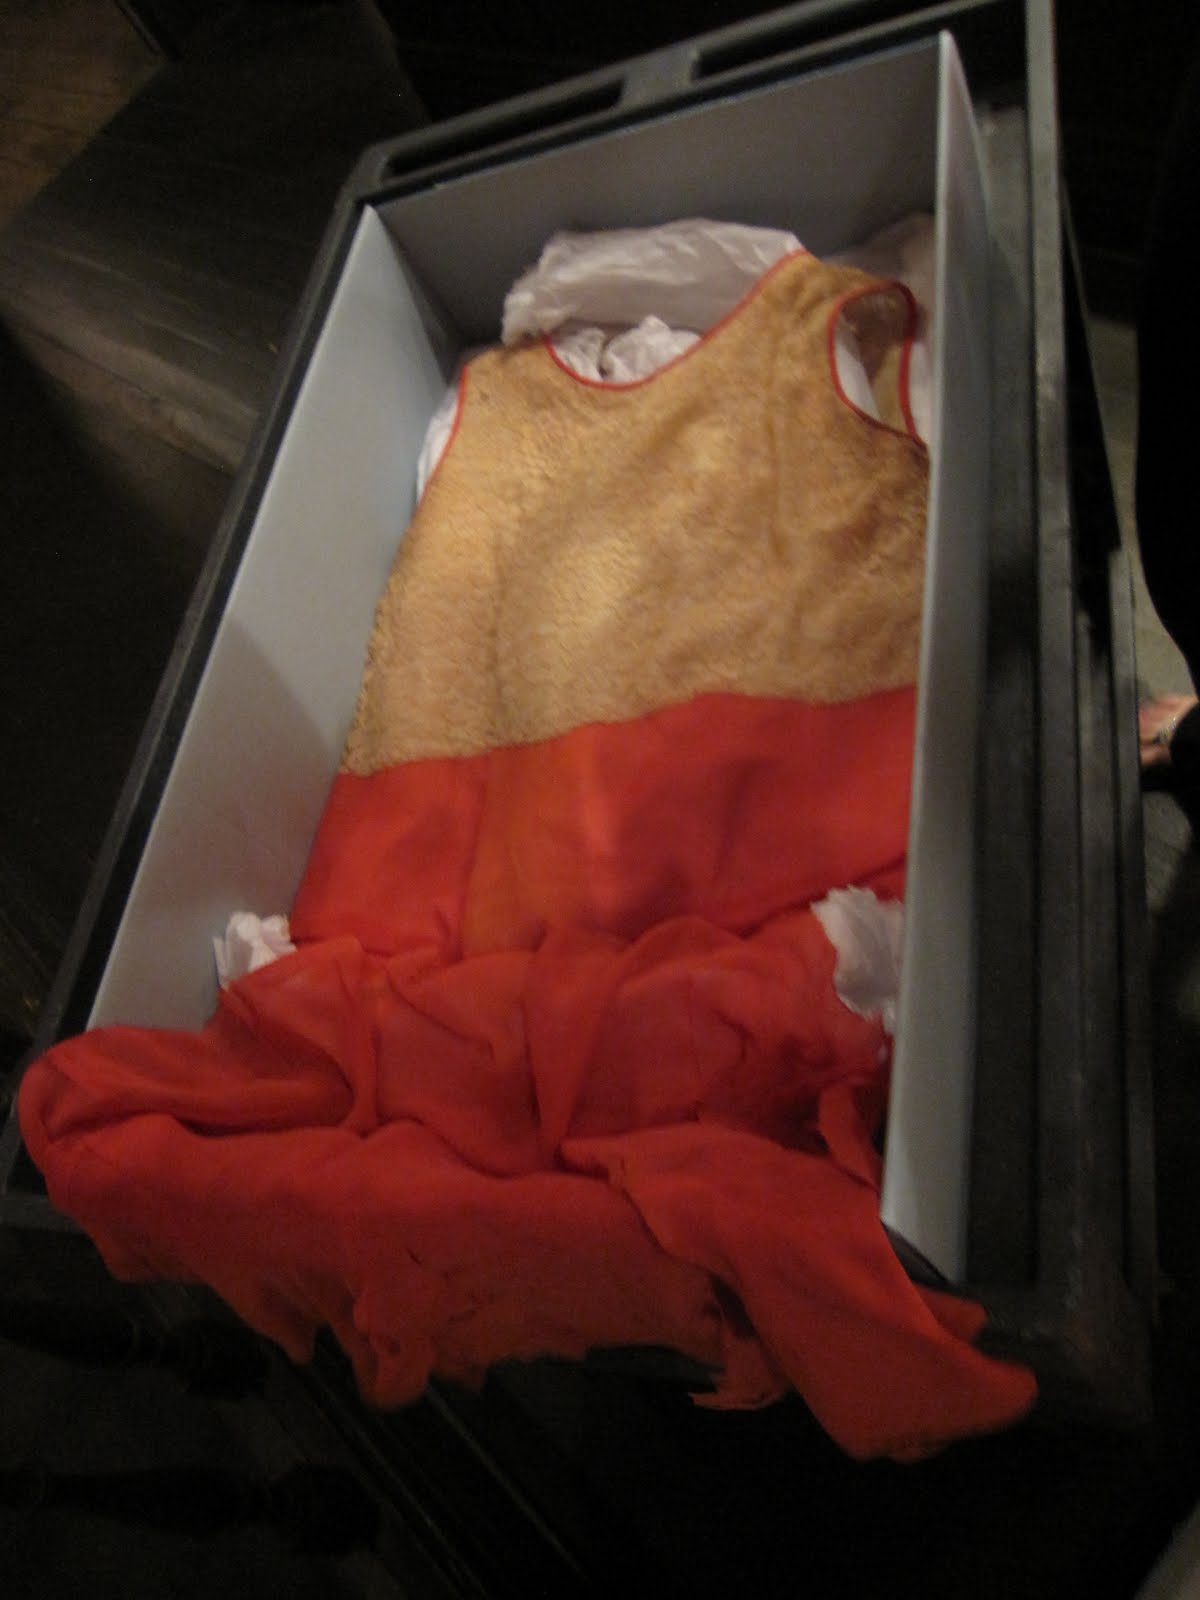
I decided to take a look at the red georgette dress. It too was in poor condition.


The dress and jacket are made of georgette. The fabric now is very fragile and torn in places. Notice the white spot on the jacket -- that's a hole.


I look at my list to see of potential replacements.

So what to do? We can't put a naked (pronounced nak-id) mannequin back in the case. And I didn't think I had anything else in the Permanent Collection in good enough condition to be on display.

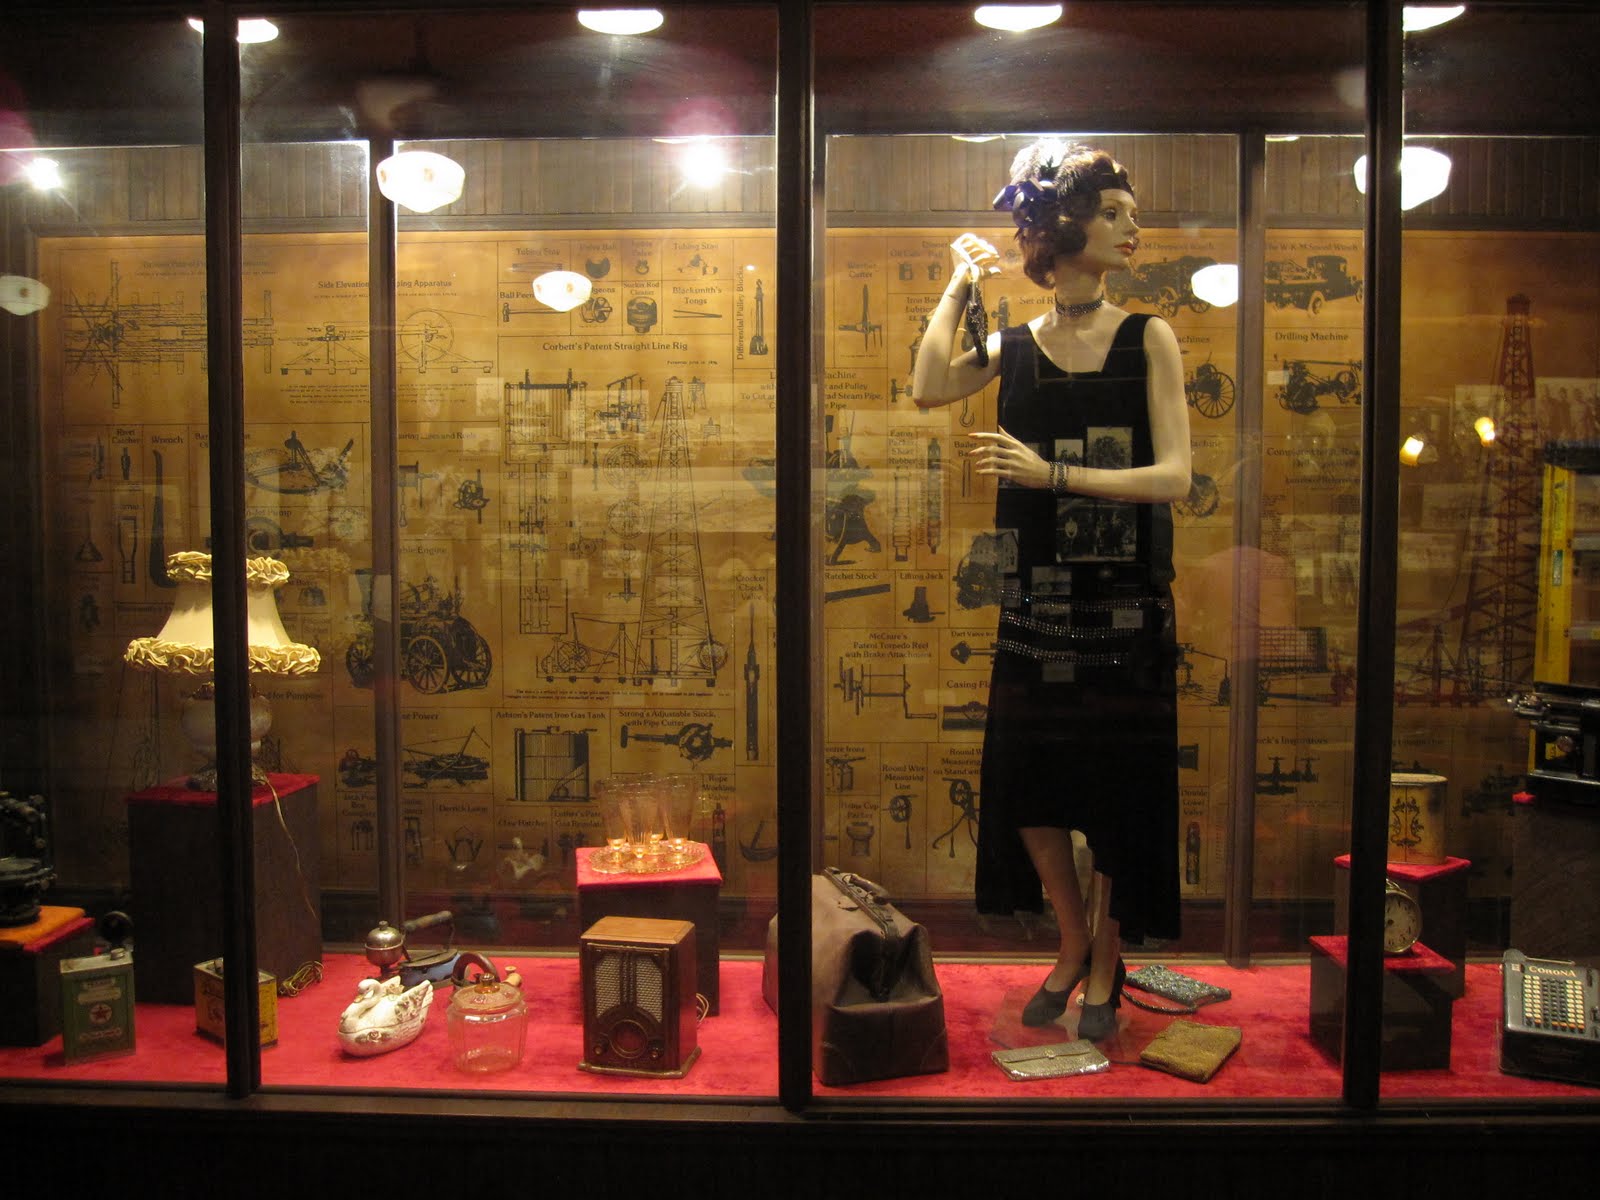
Our solution? Keep the black flapper dress. Rearrange objects within the case and from the room to fill in the case. Because of the nature of the display case (mainly, one opening at a narrow end), I ended up being a contortionist. The following shots are of me maneuvering the case, moving objects and being a little silly.


"Look at me, I'm a mannequin."


Moving objects so that the case is balanced and aesthetically pleasing.


The final result.

STAY TUNED (this time for real): Tomorrow, I'll show you how I packed the wedding dress. If you want to "heirloom" your own wedding dress, follow these simple steps!